In order to make an asset pack without the normal images, story, etc., you should do the following steps. The module file should be zipped up from a folder with the contents consisting of the following items:
definition.xml - This file should
| Code Block | ||
|---|---|---|
| ||
<?xml version="1.0" encoding="ISO-8859-1"?> <root version="2.2"> <name>My Tile Pack</name> <author>Me - the greatest author ever</author> <ruleset>Any</ruleset> </root> |
thumbnail.png
This should be roughly 128 x 166 pixels and should show your product’s thumbnail. This is ignored for now since Tile Assets don’t currently show the thumbnail in the asset window. They only show the generic bag or folder image. We recommend including it for future potential use.
images folder containing JPG or PNG files and an XML file for each image. You can use folders to further organize your collection. We recommend the use of these folder names.
Recommended folder names. Folder names will show up in searches. Someone could search for tiles, wood and it would show a folder for tiles\wood. The parent folder will always be the name you have defined in your definition.xml. (See table Folder Names for examples)
Save each image as a JPG if it does not require transparency and as a PNG if it requires transparency.
You can use any scale for the graphic as long as you include gridsize info in an xml file that shares a name with the asset. We recommend a size of 100 pixel per square for scale.
Name each image with tags that help users find it in searches and use underscore (_) between tags. For instance, chapel_tile_medieval_fantasy_castles.jpg will allow it to show up in numerous searches that contain any of the sub-components of the file name.
If the file works best at a specific size, include that as a tag, such as 6x2_columns_balustrade_tile_medieval_fantasy_castle.jpg. This tells the user that the tile should be sized to 6x2 squares. If you specified the gridsize, it will always draw at 6 x 2, regardless of the user’s grid settings.
Grid Size info (tree.xml) for a graphic called tree.png:
| Code Block | ||
|---|---|---|
| ||
<root> <gridsize>100,100</gridsize> </root> |
Asset Pack Folder Names
Level 1 Folder Name (Type) | Level 2 Folder Name (Themes) |
|---|---|
backgrounds | fantasy |
brushes | sci-fi |
effects | modern |
floors | horror |
symbols | stone |
tiles | wood |
decorations | brick |
walls | mud |
maps | night |
decals |
| Info |
|---|
JPG or PNG? If your tile does not require transparency, you should use JPG images instead. They take up considerably less room and they will transfer from GM to players much more quickly. |
Making a Brush Graphic
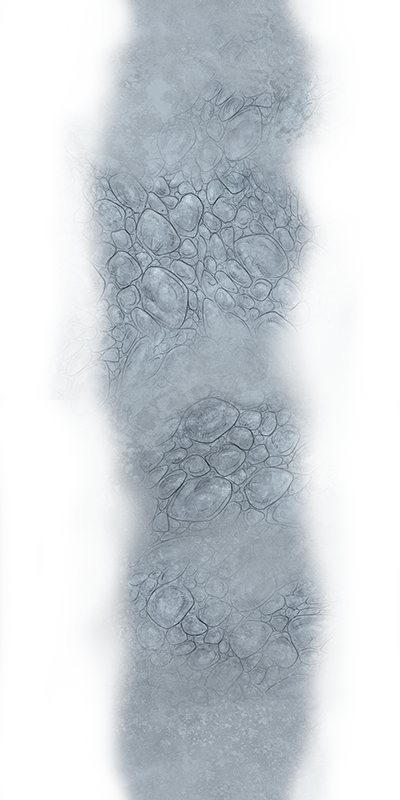
Brushes are a great new feature of Fantasy Grounds Unity. Brushes will allow users to paint with an image and have it intelligently blend corners. This works especially well when drawing polygons, but it also works with freehand drawings. Brushes should be vertical. Follow the naming scheme mentioned in the previous section, but add the keyword brush and the dimensions in grid squares if possible.
...
Road | Wall | Tracks | Cobblestone Path |
|---|---|---|---|
 |
|  |
|

Adding Line of Sight and Lighting Details to a Tile or Decoration Asset
Your images and decorations can be paired with additional meta data that describes the asset further. You can define what the line of sight (LOS) should look like for an asset, add doors, terrain, windows, pits, etc. and then also specify the grid size and masking for ambient lighting. To do this, follow the instructions at the Developer Guide below.
The benefits of doing this for each asset separately is that it allows them to be snapped together seamlessly, rotated, scaled, etc. after being placed on the map.
Developer Guide - Extracting LOS Data for Modules Generating Image Line of Sight Data
Decal Image Naming Scheme
These instructions will help standardize image names for use during searches.
Decal images do not require registration within LUA scripts. Instead, they show up automatically in the Decal selection tool if you follow these procedures.
Required:
Create a module (.mod file) or add to an existing module
Folder name is set to images\Decals
include _decal as part of the image name
Recommended:
Separate search terms and keywords with an underscore character
Start the filename with an abbreviation for the current ruleset
Follow with a short abbreviation for grouping, such as a product name
Include a short, easily searchable description or set of keywords
End with _decal and then the file extension (jpg or png)
| Info |
|---|
Ruleset Abbreviations These are shortened versions for popular systems. Starting the filenames with a short prefix like this will allow all the related images to be grouped next to one another in the Decal selection tool. |
...